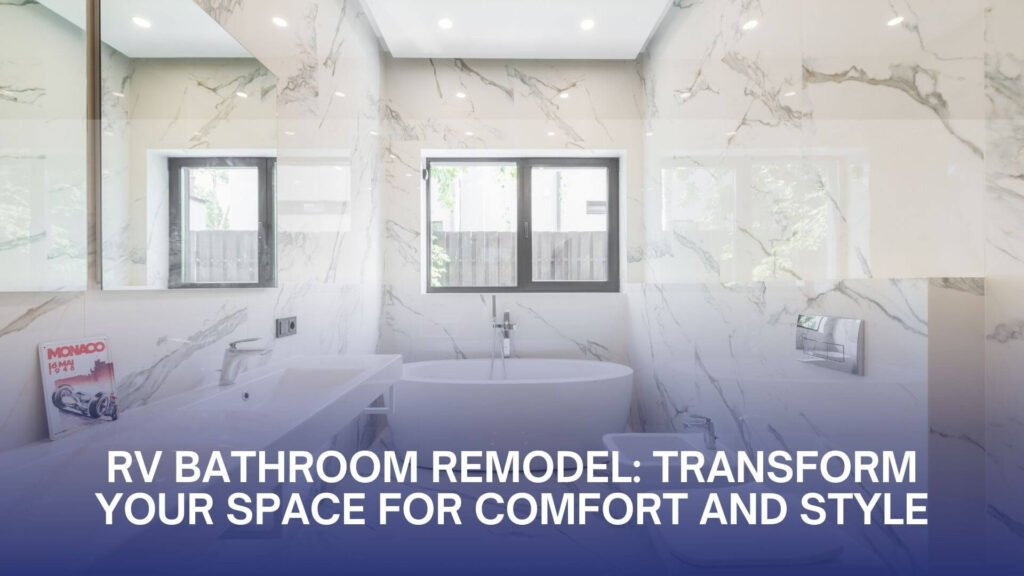
An RV bathroom remodel is a practical and rewarding way to enhance your travel experience. Whether you’re updating an older RV or customizing a new one, upgrading your bathroom can improve functionality, add style, and make your home on wheels more comfortable.
This guide explores ideas, costs, and tips for remodeling an RV bathroom to help you create a space that meets your needs and reflects your personal style.

Why Remodel Your RV Bathroom?
- Improve Functionality: Upgrade outdated fixtures, optimize space, and add modern conveniences.
- Enhance Comfort: Create a space that feels more like home, even on the road.
- Increase Storage: Add smart storage solutions to keep essentials organized.
- Boost Aesthetics: Update old finishes with stylish, durable materials.
- Add Value: A well-designed RV bathroom can increase resale value.
RV Bathroom Remodel Ideas
1. Replace Fixtures
- Toilet: Upgrade to a composting, porcelain, or low-profile RV toilet for improved efficiency.
- Sink: Opt for a compact or wall-mounted sink to save space.
- Showerhead: Install a water-efficient showerhead for better pressure and reduced water usage.
2. Optimize Storage
- Add vertical shelves or wall-mounted cabinets to maximize storage space.
- Use over-the-door organizers, magnetic strips, or baskets for small items.
- Install recessed niches in the shower for toiletries.
3. Update the Shower or Tub
- Replace the shower pan with a modern, lightweight option.
- Add a handheld showerhead for convenience.
- Install a corner shower or compact tub to save space.
4. Upgrade the Flooring
- Use waterproof and durable options like vinyl plank, laminate, or peel-and-stick tiles.
- Choose light-colored flooring to make the space feel larger.
5. Refresh Walls and Ceilings
- Replace old wallpaper with moisture-resistant wallpaper or vinyl decals.
- Install lightweight wall panels or acrylic surrounds for a clean, modern look.
- Paint with mildew-resistant, RV-safe paint for added protection.
6. Improve Lighting and Ventilation
- Install LED lighting for energy efficiency and better visibility.
- Add a new vent fan to reduce moisture and improve airflow.
7. Add Decorative Touches
- Use coordinating towels, rugs, and shower curtains to create a cohesive look.
- Install stylish hardware, like faucet handles or cabinet pulls, to elevate the design.
Cost of an RV Bathroom Remodel
The cost of an RV bathroom remodel depends on the scope of the project and the materials used. Here’s a general breakdown:
- Basic Remodel: $500–$2,000
- Includes painting, replacing fixtures, and adding storage solutions.
- Mid-Range Remodel: $2,000–$5,000
- Involves upgrading plumbing fixtures, flooring, and wall finishes.
- High-End Remodel: $5,000–$10,000+
- Features custom cabinetry, luxury materials, and high-tech upgrades.
Factors That Impact RV Bathroom Remodel Costs
- Size of the Bathroom: Smaller spaces require less material but may need compact, specialized fixtures.
- Scope of Work: Full remodels with plumbing or electrical changes cost more than cosmetic updates.
- Quality of Materials: High-end fixtures and finishes increase costs but offer better durability.
- DIY vs. Professional Help: DIY projects save money but may require professional assistance for plumbing or electrical work.
DIY vs. Professional RV Bathroom Remodel
DIY-Friendly Projects
- Painting walls or cabinets.
- Installing peel-and-stick tiles or decals.
- Replacing hardware or accessories.
Hire a Professional For:
- Plumbing upgrades or relocations.
- Electrical rewiring or installing new outlets.
- Structural modifications or custom cabinetry.
Tips for a Successful RV Bathroom Remodel
- Plan Your Budget: Set a realistic budget and prioritize essential upgrades.
- Choose Lightweight Materials: Use RV-friendly materials to avoid adding excessive weight.
- Optimize Space: Focus on compact fixtures and vertical storage to maximize functionality.
- Think About Water Efficiency: Install low-flow toilets, faucets, and showerheads to conserve water.
- Test Before Installation: Ensure all fixtures fit and function properly before final installation.
- Work with Professionals When Needed: Hire experts for plumbing or electrical work to avoid costly mistakes.
RV Bathroom Remodel Ideas for Different Styles
1. Minimalist Design
- Stick to neutral tones and sleek fixtures.
- Use frameless mirrors and recessed lighting for a clean look.
2. Rustic Vibes
- Add wood accents and earthy tones.
- Use bronze or black hardware for a warm, inviting feel.
3. Modern Aesthetic
- Incorporate glossy finishes and bold color contrasts.
- Install high-tech features like a smart showerhead or LED lighting.
4. Beachy Theme
- Use light blues, whites, and sandy tones.
- Add nautical decor like seashell hooks or a beach-patterned shower curtain.
Conclusion
An RV bathroom remodel is a fantastic way to make your travels more comfortable and enjoyable. Whether you’re focusing on functionality, aesthetics, or both, strategic planning and thoughtful design can help you create a bathroom that meets your needs and fits your budget.
With the right upgrades, your RV bathroom can become a space you love, no matter where the road takes you.
